Cinnamon Swirl Pumpkin Bread Mini Loaves
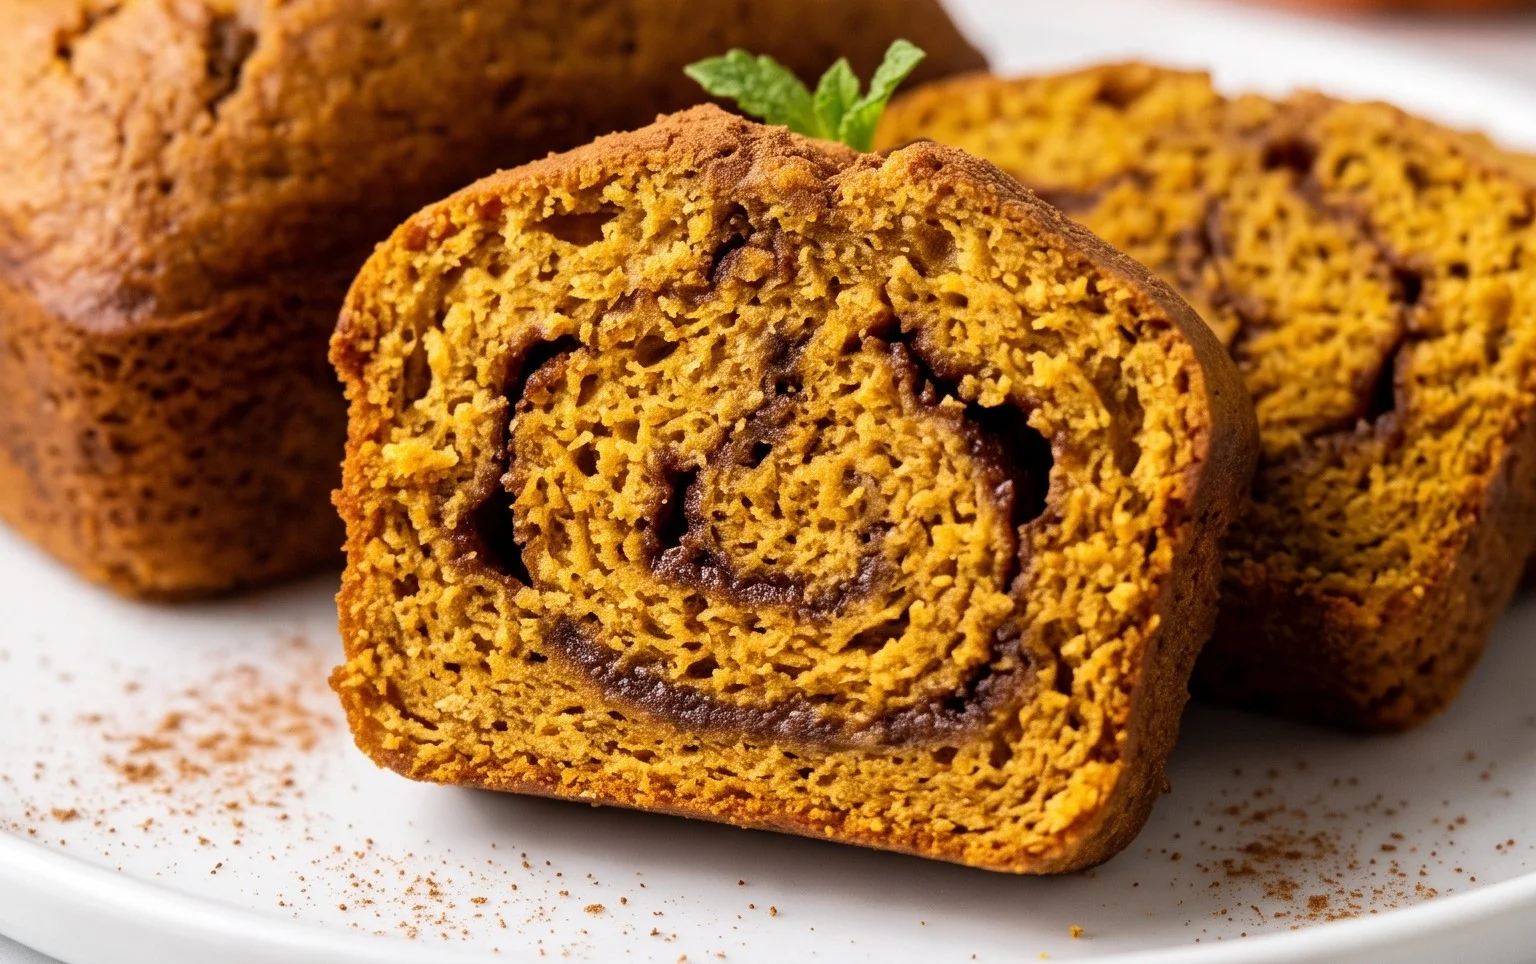
Cinnamon Swirl Pumpkin Bread Mini Loaves are an absolute game-changer when it comes to autumn baking, and honestly, I can’t get enough of them! There’s something undeniably comforting about the warm, spicy aroma that fills your kitchen as these little beauties bake, a scent that instantly screams cozy season. We all know and love classic pumpkin bread, but these mini loaves take it to a whole new level with that delightful swirl of cinnamon sugar weaving its way through every moist, tender slice. It’s the perfect marriage of comforting pumpkin flavor and the sweet, fragrant embrace of cinnamon.
Why You’ll Adore These Mini Loaves
What makes these Cinnamon Swirl Pumpkin Bread Mini Loaves so special? For starters, the individual portions are just divine – no need to slice, just grab and go! They are perfect for sharing with friends, packing in lunchboxes, or simply treating yourself to a perfectly sized indulgence. The texture is incredibly moist thanks to the pumpkin puree, and that ribbon of cinnamon adds an extra layer of sweetness and spice that truly elevates the experience. It’s a delightful twist on a beloved classic that I’m sure will become a staple in your fall baking repertoire.
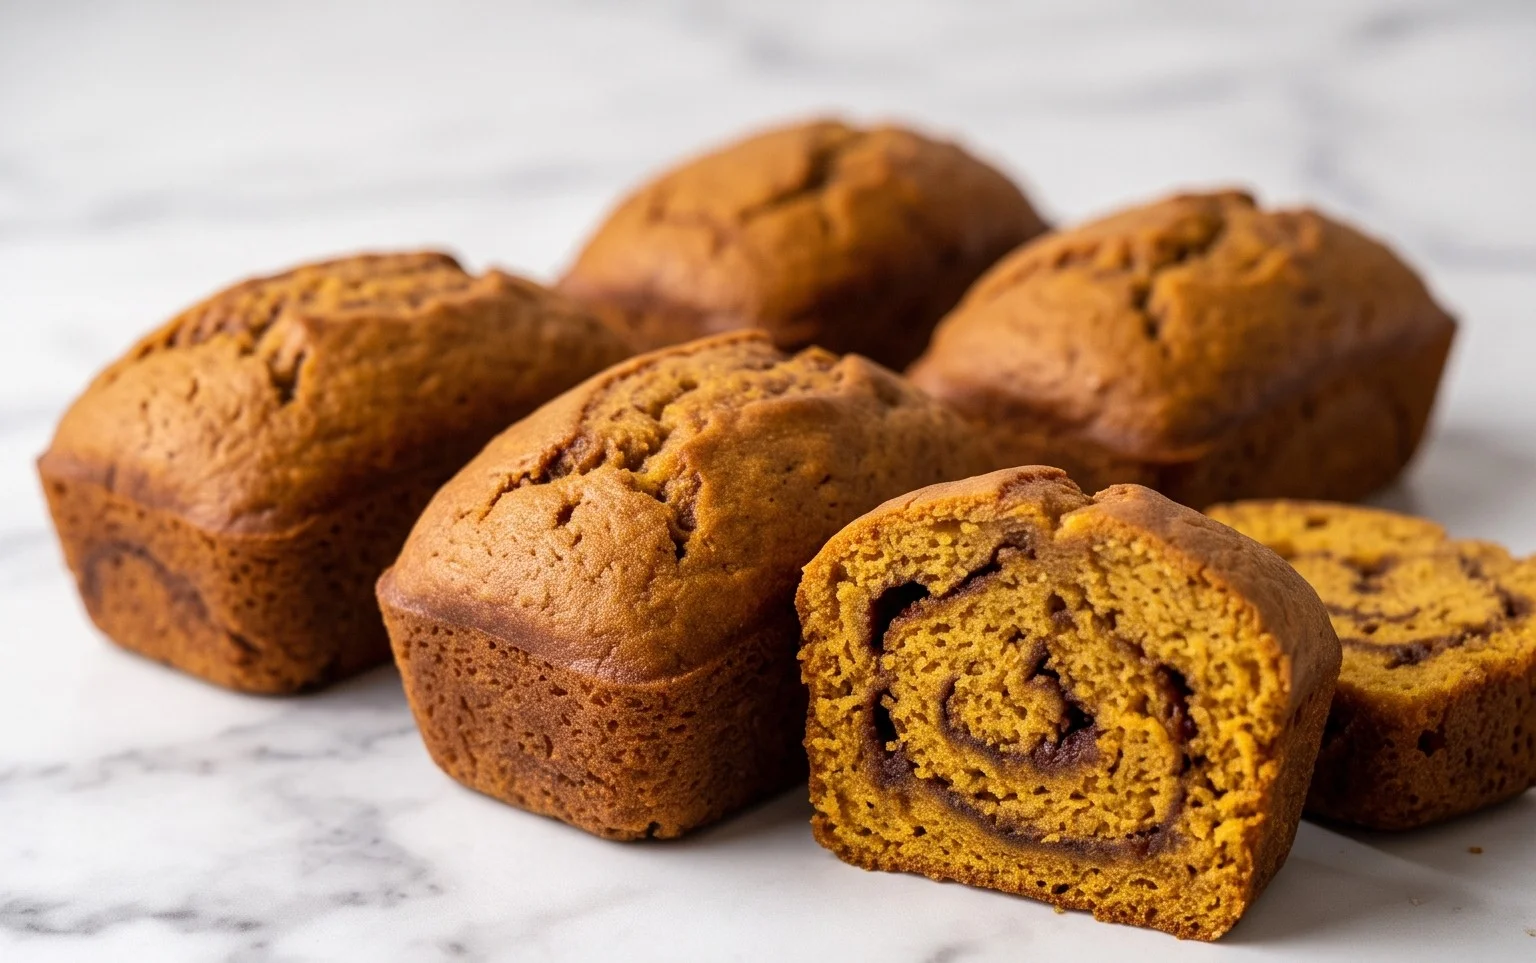
Cinnamon Swirl Pumpkin Bread Mini Loaves
There’s something undeniably comforting about a warm slice of pumpkin bread, and when you add a ribbon of cinnamon swirl throughout, it becomes pure autumnal bliss. Making these in mini loaf form is not only adorable but also perfect for portion control, sharing with friends, or even as delightful homemade gifts. These mini loaves bake up beautifully, offering a moist, tender crumb infused with the classic flavors of pumpkin and spice, all complemented by that irresistible sweet cinnamon swirl. Forget the hassle of one giant loaf; these little gems are quick to assemble and even quicker to disappear. Let’s get baking!
Ingredients:
- 1 large egg
- 1/2 cup granulated sugar
- 1/4 cup brown sugar, light or dark
- 1/2 cup pure canned pumpkin (any size – you will have leftovers)
- 1/4 cup canola oil (or any neutral oil)
- 1 teaspoon vanilla extract
- 3/4 cup all-purpose flour
- 1/2 teaspoon baking powder
- 1/8 teaspoon baking soda
- 1 1/2 teaspoons pumpkin pie spice
- 1/4 teaspoon salt
- 2 to 3 tablespoons cinnamon sugar
Cooking Instructions:
Step 1: Prepare Your Workspace and Mix the Wet Ingredients
First things first, preheat your oven to 350°F (175°C). This is a crucial step for ensuring your mini loaves bake evenly. Next, prepare your mini loaf pans. I like to grease and flour them thoroughly, or even better, use a baking spray that contains flour. This prevents any sticking and makes for easy removal of your beautiful finished loaves. In a large mixing bowl, whisk together your wet ingredients. Start with the large egg, then add the granulated sugar and the brown sugar. Whisk until the sugars are well incorporated into the egg, creating a slightly lighter and fluffier mixture. Now, gently fold in the 1/2 cup of pure canned pumpkin. Make sure you’re using pure pumpkin puree, not pumpkin pie filling, as the latter contains added sugar and spices that will alter the flavor of your bread. Next, pour in the 1/4 cup of canola oil. Any neutral-tasting oil like vegetable or even melted unsalted butter (cooled slightly) will work here. Finally, stir in the 1 teaspoon of vanilla extract. Give everything a good mix until it’s smooth and well combined. This forms the flavor base of our pumpkin bread.
Step 2: Combine the Dry Ingredients
In a separate medium-sized bowl, whisk together your dry ingredients. This is where the structure and lift of your bread will come from. Combine the 3/4 cup of all-purpose flour, 1/2 teaspoon of baking powder, and the tiny but mighty 1/8 teaspoon of baking soda. Don’t underestimate the power of that small amount of baking soda; it works with the acidic pumpkin to create a tender crumb. Next, add the 1 1/2 teaspoons of pumpkin pie spice. This blend typically includes cinnamon, nutmeg, ginger, and cloves, which are the quintessential flavors of fall. Finally, add the 1/4 teaspoon of salt. Salt might seem simple, but it’s essential for balancing the sweetness and enhancing all the other flavors in the bread. Whisk these dry ingredients together thoroughly to ensure even distribution of the leavening agents and spices.
Step 3: Gently Combine Wet and Dry Mixtures
Now it’s time to bring our wet and dry ingredients together. Pour the dry ingredients into the bowl with the wet ingredients. Using a spatula or a wooden spoon, gently fold the dry ingredients into the wet. It’s very important not to overmix at this stage. Overmixing can develop the gluten in the flour too much, resulting in a tough and dense bread. Mix just until no streaks of dry flour remain. A few small lumps are perfectly fine. The batter will be thick, which is exactly what we want for a moist and rich pumpkin bread.
Step 4: Create the Cinnamon Swirl and Fill the Loaf Pans
This is the fun part that gives our bread its beautiful marbling! Divide your thick batter into two equal portions. In one of the portions, stir in about half of your 2 to 3 tablespoons of cinnamon sugar. Mix this until just combined. Now, spoon alternating dollops of the plain batter and the cinnamon-sugar-spiced batter into your prepared mini loaf pans. Don’t worry about making it perfect; the swirling effect happens naturally. Once you have the batter in the pans, gently take a butter knife or a skewer and swirl it through the batter. Just a few gentle passes are all you need to create those lovely ribbons of cinnamon goodness. Be careful not to over-swirl, as this can also lead to a less defined pattern. Fill the mini loaf pans about two-thirds of the way full.
Step 5: Bake and Cool Your Mini Loaves
Place your filled mini loaf pans into the preheated oven. Bake for approximately 20 to 25 minutes. The baking time can vary slightly depending on your oven and the size of your mini loaf pans, so keep an eye on them. To check for doneness, insert a toothpick into the center of a loaf. If it comes out clean or with a few moist crumbs attached (but no wet batter), your bread is ready. Carefully remove the loaves from the oven and let them cool in their pans on a wire rack for about 10-15 minutes. This allows them to firm up slightly before you attempt to remove them. After this initial cooling period, gently invert the mini loaves onto the wire rack to cool completely. Allowing them to cool fully before slicing will ensure the best texture and prevent them from falling apart. These mini loaves are absolutely divine served warm with a touch of butter, or at room temperature. Enjoy the irresistible aroma and flavor of homemade cinnamon swirl pumpkin bread!
Conclusion:
I truly hope you enjoy making and savoring these delightful Cinnamon Swirl Pumpkin Bread Mini Loaves as much as I do! This recipe is a fantastic way to capture the essence of fall in a perfectly portioned, incredibly moist, and visually appealing treat. The beautiful cinnamon swirl adds an extra layer of warmth and spice that elevates classic pumpkin bread to something truly special. They’re wonderful for sharing, gifting, or simply treating yourself to a cozy moment.
These mini loaves are incredibly versatile. Serve them warm as is for a simple indulgence, or dress them up with a dollop of whipped cream or a drizzle of cream cheese frosting. They make a perfect accompaniment to your morning coffee or tea, a welcome addition to a brunch spread, or a charming dessert after any meal. Feel free to experiment with variations too! Consider adding chopped pecans or walnuts to the batter for a delightful crunch, or a pinch of nutmeg and cloves along with the cinnamon for an even more complex spice profile. Don’t be shy – make this recipe your own!
I wholeheartedly encourage you to give this Cinnamon Swirl Pumpkin Bread Mini Loaves recipe a try. It’s surprisingly easy to whip up and the results are incredibly rewarding. Happy baking!
Frequently Asked Questions:
Can I make larger loaves with this recipe?
Absolutely! You can easily double the recipe and bake it in a standard 9×5 inch loaf pan. Keep in mind that baking time will need to be adjusted. Start checking for doneness around 50-60 minutes, inserting a toothpick into the center – it should come out clean. You might need to loosely tent the loaf with foil if the top starts to brown too quickly.
How long will these mini loaves stay fresh?
Stored in an airtight container at room temperature, these mini loaves will stay fresh for about 2-3 days. For longer storage, you can refrigerate them for up to a week, or freeze them individually wrapped for up to 3 months. Thaw at room temperature or gently warm in the oven.
Can I use fresh pumpkin puree instead of canned?
Yes, you can! If using fresh pumpkin, make sure to roast it until tender, then puree it until smooth. You’ll want to ensure it’s not too watery; you might need to strain it slightly to achieve a similar consistency to canned pumpkin puree for the best results in your Cinnamon Swirl Pumpkin Bread.
Cinnamon Swirl Pumpkin Bread Mini Loaves
Deliciously spiced mini pumpkin bread loaves with a sweet cinnamon swirl, perfect for sharing.
Ingredients
-
1 large egg
-
1/2 cup granulated sugar
-
1/4 cup brown sugar, light or dark
-
1/2 cup pure canned pumpkin
-
1/4 cup canola oil
-
1 teaspoon vanilla extract
-
3/4 cup all-purpose flour
-
1/2 teaspoon baking powder
-
1/8 teaspoon baking soda
-
1 1/2 teaspoons pumpkin pie spice
-
1/4 teaspoon salt
-
2 to 3 tablespoons cinnamon sugar
Instructions
-
Step 1
Preheat oven to 350°F (175°C). Grease and flour 3-4 mini loaf pans. -
Step 2
In a large bowl, whisk together the egg, granulated sugar, and brown sugar until well combined. -
Step 3
Stir in the pumpkin puree, canola oil, and vanilla extract until smooth. -
Step 4
In a separate bowl, whisk together the all-purpose flour, baking powder, baking soda, pumpkin pie spice, and salt. -
Step 5
Add the dry ingredients to the wet ingredients and mix until just combined. Do not overmix. -
Step 6
Divide the batter evenly among the prepared mini loaf pans. Sprinkle the cinnamon sugar over the top of each loaf. -
Step 7
Bake for 30-35 minutes, or until a toothpick inserted into the center of a loaf comes out clean. -
Step 8
Let the loaves cool in the pans for 10 minutes before inverting them onto a wire rack to cool completely.
Important Information
Nutrition Facts (Per Serving)
It is important to consider this information as approximate and not to use it as definitive health advice.
Allergy Information
Please check ingredients for potential allergens and consult a health professional if in doubt.


